I spent my entire fifteen years in corporate operations watching people waste hours on “optimized” workflows that actually just added more steps to the process. I see the same thing happening in kitchens everywhere. People get caught up in buying expensive, specialized vacuum sealers or following twenty-step tutorials on how to flash-freeze individual berries, when all they really need is a way to stop food waste without losing their minds. If you’re looking for a complex masterclass on the science of cryogenics, you’re in the wrong place; I’m just here to show you how to freeze food so it actually stays edible and doesn’t turn into a block of freezer-burned mystery meat.
I’m not going to give you a list of gadgets you don’t need. Instead, I’m going to give you the battle-tested systems I use in my own kitchen to keep my pantry stocked and my Tuesday nights manageable. We’re going to focus on high-impact, low-effort methods that prioritize your time and your sanity. This is about building a sustainable habit that works in the messy reality of a busy week, not a curated lifestyle blog.
Table of Contents
The Best Practices for Food Preservation for Busy People
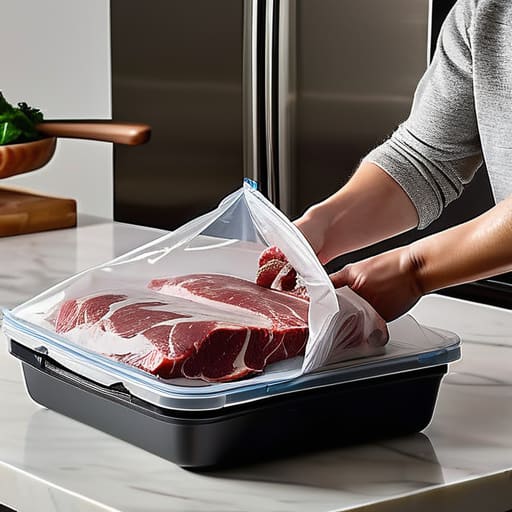
Look, I don’t have the patience for elaborate gourmet prep, and neither do you. The goal here isn’t to become a professional chef; it’s to ensure that when you open that freezer door on a chaotic Wednesday, you aren’t met with a block of ice and disappointment. The most important best practices for food preservation come down to one thing: air management. If air touches your food, you’re going to end up with freezer burn, which turns expensive protein into something that tastes like cardboard.
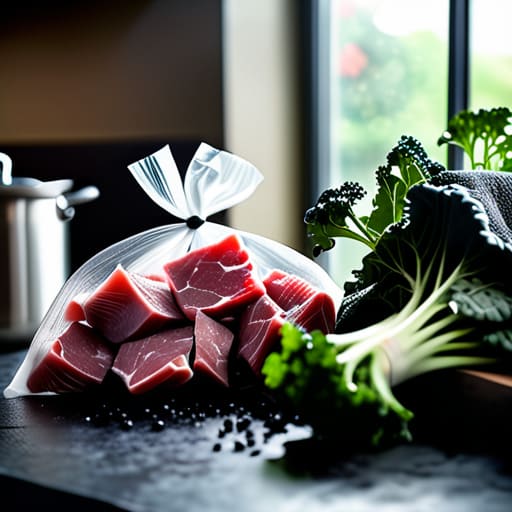
If you want to do this right without spending your entire Sunday, invest in a decent vacuum sealer. It’s the single best way to handle vacuum sealing for long term storage because it removes the variable that ruins everything. If a sealer feels like too much friction, just use heavy-duty freezer bags and squeeze every last bit of air out before you zip them shut. For produce, remember that freezing vegetables and fruits usually requires a quick blanching step first to stop them from turning into mush. It’s a small upfront time investment that pays off massively when you aren’t throwing spoiled groceries in the trash.
Choosing Proper Food Storage Containers That Actually Work
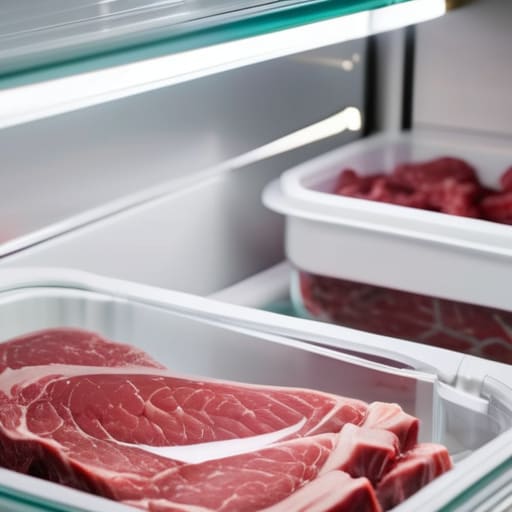
Look, you don’t need a specialized laboratory setup, but you do need to stop using those flimsy, single-use sandwich bags for anything that matters. If you’re serious about preventing freezer burn, the container is your first line of defense. I’ve learned the hard way that thin plastic is a sieve for air, and air is exactly what turns your expensive proteins into tasteless ice blocks. Invest in heavy-duty, BPA-free plastic containers with snap-lock lids, or better yet, glass if you have the space. Glass is superior because it creates a truly airtight seal, though it’s a bit more of a headache to manage in a crowded freezer.
If you’re planning on deep-freezing things for months at a time, skip the standard Tupperware and look into vacuum sealing for long term storage. It’s a bit of a learning curve, but it’s the only way to ensure your prep work doesn’t go to waste. For everything else—like your daily batches of soup or leftover grains—just focus on minimizing the “headspace.” The less air sitting inside that container, the better your results will be when you finally go to thaw everything out.
Five Rules to Stop Wasting Money and Food
- Freeze in portions, not piles. If you freeze a massive block of beef stew, you’re forced to defrost the whole thing just to eat one bowl. Use small, single-serving containers or bags so you only thaw exactly what you need for that Tuesday night dinner.
- Get the air out. Air is the enemy; it’s what causes that weird freezer burn that makes everything taste like cardboard. If you’re using bags, squeeze every bit of air out before sealing. If you’re using containers, don’t leave a massive gap of empty space at the top.
- Label everything with a Sharpie. I’ve lost count of how many times I’ve pulled out a frozen puck of something, only to realize three weeks later it was old pesto instead of marinara. Write the item and the date directly on the container. Don’t rely on your memory; it will fail you.
- Flatten your bags. Instead of freezing bulky, awkward bags that take up half your freezer, lay them flat on a baking sheet until they’re solid. Once they’re frozen, you can stack them like files in a drawer. It saves space and makes finding things much faster.
- Respect the temperature. Don’t let your freezer get overcrowded to the point where the air can’t circulate, and try to avoid opening the door every five minutes. A stable, consistent temperature is what keeps your food from turning into a science experiment.
The Bottom Line
Stop hunting for the “perfect” container; as long as it’s airtight and fits your space, use what you have so you actually start doing this.
Label everything with a Sharpie and a date—your future self will thank you when you aren’t digging through a frozen block of mystery meat on a Tuesday night.
Focus on portioning meals into single servings now, because nobody has the mental bandwidth to defrost a family-sized tray just to eat one bowl of soup.
The Real Goal of Meal Prep
“Freezing food isn’t about becoming a professional chef on a Sunday; it’s about building a buffer between you and the decision fatigue of a Tuesday night when you’re too tired to even think about cooking.”
Diane Sterling-Voss
Stop Overthinking the Freezer
At the end of the day, freezing food isn’t about achieving some perfect, laboratory-grade preservation standard; it’s about making sure you aren’t staring blankly at an empty fridge at 6:00 PM on a Wednesday. You don’t need a professional-grade vacuum sealer or a dozen different specialized gadgets to make this work. Just remember the basics: use heavy-duty bags or airtight containers, squeeze out as much air as possible to prevent freezer burn, and label everything with a sharpie so you aren’t playing a guessing game three months from now. If you follow these simple, battle-tested steps, you’ve already won half the battle against food waste and decision fatigue.
My goal isn’t to turn your kitchen into a high-tech storage facility, but to help you build a system that actually serves your life. When you get this right, you aren’t just saving money or preventing leftovers from turning into ice blocks; you are reclaiming your mental bandwidth. You are buying yourself the luxury of a calm evening because the “what’s for dinner” problem has already been solved. So, don’t let the fear of doing it “wrong” keep you from starting. Just grab a bag, portion it out, and get it in the freezer. Your future, less-stressed self will thank you.
Frequently Asked Questions
How long can I actually keep things in the freezer before they start tasting like freezer burn?
Look, if you’re asking because you found a mystery bag from 2022, just toss it. For things you actually want to enjoy, aim for three to six months. Most proteins and cooked meals are fine in that window if they’re sealed tightly. Beyond six months, even with the best containers, the quality starts to tank. It’s not about safety—it’s about not eating something that tastes like a stale ice cube on a Tuesday.
Do I really need to thaw everything in the fridge, or can I just throw frozen meat straight into a pan?
Look, I get it. It’s 6:00 PM, you’re exhausted, and the idea of planning a thaw twenty-four hours in advance feels like another chore on an already overflowing list. You can cook frozen meat straight from the freezer, but don’t expect perfection. It’ll take about 50% longer to cook, and the outside often overcooks before the center is safe. If it’s a thin cut like a burger or chicken breast, go for it. For a thick steak or roast? Please, just thaw it properly.
Is there a way to freeze leftovers without them turning into a giant, inseparable block of ice?
The “ice block” problem is usually a result of too much moisture and too much surface area. If you’re freezing something like chili or stew, don’t just dump it in a tub. Use heavy-duty freezer bags and flatten them out thin—think a pancake, not a brick. If it’s individual items, like meatballs or cooked chicken, freeze them on a baking sheet first before bagging them. It takes five minutes, but it saves you from a frantic defrosting session later.