You don’t need a stone-fired oven or a three-day fermentation process to figure out how to make homemade pizza that actually tastes good. For years, I fell for the internet’s obsession with “authentic” complexity, spending entire Saturday afternoons wrestling with hydration percentages and specialized flour, only to end up with a soggy mess and a kitchen covered in flour dust. The truth is, most of those high-maintenance recipes are just unnecessary friction masquerading as culinary expertise. I realized that if a system takes more energy than the reward it provides, the system is broken.
I’m not here to teach you how to become a sourdough artisan; I’m here to give you a reliable, repeatable framework for a great meal. This guide is about stripping away the pretension and focusing on a few battle-tested methods that work in a standard kitchen on a random Tuesday night. I’ll show you how to manage your ingredients and your oven temperature so you get a crisp, delicious crust without the mental overhead. Let’s get straight to the mechanics of a pizza that actually delivers.
Table of Contents
Recipe Details
Ingredients
- 2 cups All-purpose flour
- 1 teaspoon Active dry yeast
- 3/4 cup Warm water
- 1 tablespoon Olive oil
- 1/2 cup Tomato sauce
- 1.5 cups Shredded mozzarella cheese
- 1/4 cup Fresh basil leaves
Recipe Instructions
Step 1
First, we need to handle the dough. Don’t bother with the complicated, multi-day fermentation processes you see on food blogs; that’s a recipe for burnout, not dinner. Mix 3.5 cups of flour, a teaspoon of salt, a packet of instant yeast, and about 1.5 cups of warm water in a large bowl. Knead it for about five minutes until it’s smooth, then let it sit in a covered bowl for thirty minutes. It doesn’t need to double in size to be functional; we just want to take the tension out of the gluten.
Step 2
While the dough is resting, prep your workspace and your oven. Crank your oven up to its absolute maximum setting—usually around 500°F (260°C). If you have a pizza stone, put it in now. If you don’t, just use a heavy baking sheet. The goal here is heat retention, which is the only way to get a decent crust without a professional wood-fired oven.
Step 3
Once the dough has rested, divide it into two balls and lightly flour your counter. Instead of using a rolling pin—which often crushes all the lovely air bubbles you just worked for—use your hands to stretch it out. Aim for a circle that’s roughly the size of your pan. If it keeps snapping back like a rubber band, give it another five minutes to relax. Patience is a tool, just like a spatula.
Step 4
Now for the assembly. Transfer your stretched dough to your prepared pan or stone and add your sauce and cheese. Here is my rule for efficiency: less is more. If you drown the dough in sauce or pile on too much mozzarella, you’ll end up with a soggy, structural nightmare that’s impossible to slice. A thin layer of sauce and a sensible dusting of cheese is all you need to get the job done.
Step 5
Slide the pizza into the oven and set a timer for 10 to 12 minutes. You aren’t looking for a specific color; you’re looking for the cheese to be bubbling and the edges of the crust to be deeply golden. Once it looks right, pull it out, let it sit for two minutes so the cheese sets, and then slice. It’s simple, it’s effective, and it actually works.
The Best Pizza Dough Recipe Without the Complexity
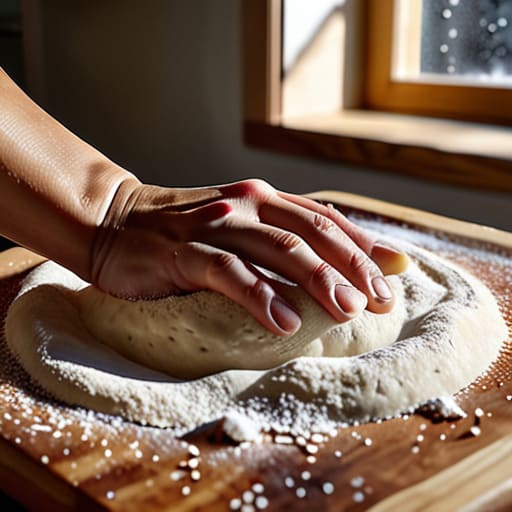
Look, I’ve spent enough time optimizing workflows to know that if a process feels like a chore, it’s a bad process. The same applies to dough. You don’t need a 72-hour cold ferment or a degree in chemistry to get a decent result. The secret to the best pizza dough recipe isn’t complexity; it’s about managing your expectations and your environment. If you’re working with a standard kitchen setup, focus on consistent temperature control rather than expensive equipment.
If you find yourself short on time, don’t stress about the artisanal look. I’ve found that the most effective yeast dough fermentation tips usually involve just letting the dough sit in a warm, draft-free spot until it actually looks alive. Once you have that base, keep your toppings lean. Overloading a homemade crust is the fastest way to end up with a soggy middle. Stick to a few high-quality ingredients—think fresh mozzarella and a drizzle of good olive oil—to ensure you’re actually enjoying your dinner instead of fighting with a heavy, undercooked mess.
Simple Homemade Pizza Sauce Ingredients That Actually Work
Look, I’ve seen people spend forty minutes simmering a complex sauce with onions, garlic, and herbs, only to have it drown out the flavor of a perfectly executed crust. If you’ve spent time mastering the best pizza dough recipe, the last thing you want to do is bury that hard work under a heavy, sugary sludge. My philosophy is simple: high-quality canned tomatoes and a pinch of salt. That’s it. When you’re baking pizza in a home oven, you don’t have the intense, dry heat of a wood-fired brick oven to evaporate excess moisture, so a watery sauce is your worst enemy.
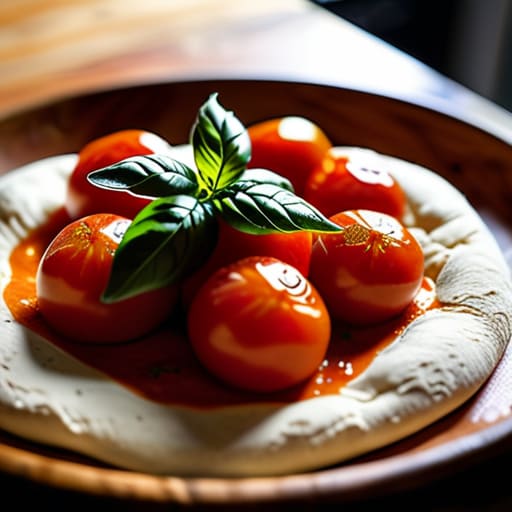
If you want to add a little character, I suggest a tiny splash of extra virgin olive oil or a few torn leaves of fresh basil added after the bake. If you’re feeling adventurous, you can experiment with different homemade pizza sauce ingredients like a hint of dried oregano or a crushed red pepper flake, but keep the ratios tight. The goal isn’t to create a gourmet pasta sauce; it’s to provide a bright, acidic foundation that complements your toppings without adding unnecessary friction to your workflow.
Five Ways to Stop Overcomplicating Your Pizza Night
- Don’t get caught in the “artisanal” trap. You don’t need a $500 pizza stone to get a decent crust; a heavy cast-iron skillet or even a preheated baking sheet works perfectly fine if you just want to eat.
- Control your moisture. If you’re using fresh mozzarella, slice it and let it sit on a paper towel for twenty minutes first. Otherwise, you’ll end up with a soggy, lukewarm puddle in the middle of your pie.
- Less is more with the toppings. It’s tempting to pile everything in the fridge on there, but too many ingredients weigh down the dough and prevent it from crisping up. Stick to three or four high-quality items.
- Heat is your best friend. Crank your oven as high as it will go—usually around 500°F (260°C)—and let it run for at least thirty minutes before you even think about putting a pizza inside.
- Stop hovering. Once the pizza goes in, leave it alone until you smell it. Constant checking or moving the tray around just drops the oven temperature and ruins the bake.
The Bottom Line
Stop overthinking the ingredients; high-quality flour and salt do the heavy lifting so you don’t have to.
Prioritize the dough’s rest time over your own schedule—patience is the only “secret” ingredient that actually matters.
Keep your sauce minimal to avoid a soggy crust; if you’re spending twenty minutes simmering, you’ve already lost the battle.
The Efficiency of Simplicity
“A great pizza isn’t the result of a twenty-step culinary ritual; it’s what happens when you stop overcomplicating the ingredients and start respecting the process.”
Diane Sterling-Voss
The Bottom Line
At the end of the day, making pizza isn’t about mastering a complex culinary science or owning a thousand-dollar wood-fired oven. It’s about the system we just built: a reliable dough that doesn’t require a degree to knead, a sauce that relies on quality over quantity, and a workflow that doesn’t leave your kitchen looking like a disaster zone by 8:00 PM. If you stick to these basics—focusing on high-quality ingredients and a predictable process—you’ll stop fighting the recipe and start enjoying the result. You don’t need more gadgets; you just need a method that actually works when you’re tired and hungry.
I know how it goes. You start with the best intentions, but then a Tuesday afternoon turns into a chaotic evening, and the idea of “project cooking” feels like just another chore on an already overflowing to-do list. My advice? Don’t aim for perfection; aim for functional deliciousness. The goal here isn’t to win a Michelin star, it’s to reclaim your evening and feed yourself something better than a cardboard delivery box. Once you have this system down, you’ll realize that the most efficient way to live is to simplify the process so you can actually sit down and enjoy the meal.
Frequently Asked Questions
How do I get a crispy crust if I don't own a dedicated pizza stone or oven?
You don’t need a $100 stone to get a decent crunch. If you’re working with a standard baking sheet, flip it upside down. Using the flat underside provides a more stable surface for heat distribution. For an extra boost, preheat that inverted sheet in your oven for at least twenty minutes before sliding the pizza on. If you have a cast-iron skillet, use that instead—it’s arguably better than any stone I’ve ever owned.
Can I make the dough ahead of time, or does it need to be used immediately?
You absolutely can—and frankly, you should. Making dough ahead of time is one of the best ways to reduce decision fatigue on a busy weeknight. If you’re making it a day early, just pop the dough in the fridge. The slow, cold fermentation actually improves the flavor and texture. When you’re ready to bake, just let it sit at room temperature for about an hour to take the chill off.
What’s the best way to prevent the center of the pizza from getting soggy under the toppings?
The “soggy center” is the most common failure point in home baking. It usually happens because you’re treating the dough like a plate rather than a structural component. First, don’t overload the middle; keep your toppings concentrated toward the edges. Second, ensure your sauce isn’t too watery—if it looks like soup, it’ll turn your crust into mush. Finally, preheat your stone or steel for at least forty-five minutes. Heat is your only defense against moisture.