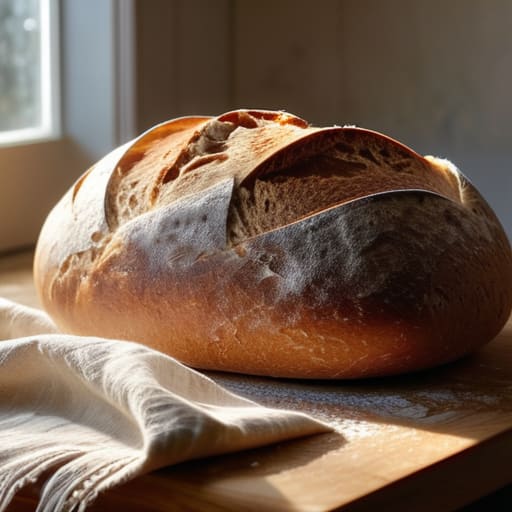
I’m going to say something that might offend the sourdough purists: you don’t need a $200 Dutch oven, a specialized proofing basket, or a three-day commitment to a temperamental starter just to learn how to bake bread at home. I spent years watching people turn a simple culinary task into a high-maintenance second job, complete with complicated hydration percentages that feel more like a chemistry lab than a kitchen. If your goal is to feed your family something better than the plastic-wrapped stuff from the grocery store, you shouldn’t have to sacrifice your entire weekend to a fickle fermentation ritual.
My approach is different. I’m not here to sell you on a lifestyle aesthetic or a mountain of specialized equipment you’ll only use once. Instead, I’m going to give you a streamlined, repeatable system that works even when your schedule is a mess and your energy is low. We are going to focus on the essential mechanics—the few variables that actually matter—so you can produce a decent, crusty loaf without the unnecessary friction. Let’s get straight to the part that actually works.
Table of Contents
Essential Bread Baking Tools That Actually Matter
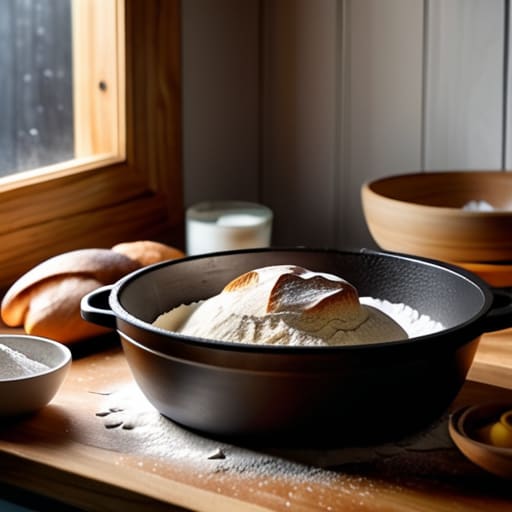
Look, you don’t need a professional-grade kitchen or a specialized laboratory to get started. I’ve seen too many people get paralyzed by gear lists before they’ve even bought a bag of flour. If you’re looking into bread making for beginners, the goal is to minimize friction, not increase it. You need a digital scale—don’t even bother with measuring cups; they are too imprecise for consistent results—a sturdy mixing bowl, and a decent Dutch oven if you want that crusty, bakery-style finish.
Beyond the basics, there are a few items that actually impact the yeast fermentation process and your sanity. A bench scraper is a small, inexpensive tool, but it is a lifesaver when you’re cleaning flour off a counter or moving sticky dough. I also highly recommend a simple proofing basket, or banneton, to help the dough hold its shape. If you aren’t ready to buy one, a bowl lined with a well-floured tea towel works just fine. The point isn’t to collect gadgets; it’s to own the essential bread baking tools that actually move the needle.
Bread Making for Beginners Without the Complexity
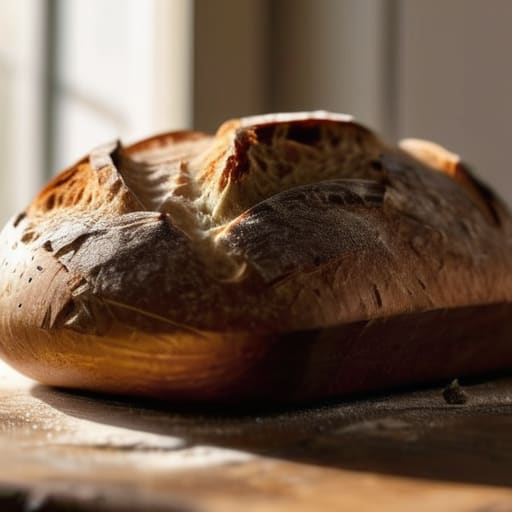
If you’ve been staring at those intimidating, flour-dusted videos of people scoring intricate patterns into sourdough, stop. You don’t need to master a decade of craft to get a decent result. For anyone looking into bread making for beginners, the secret isn’t a specialized degree; it’s understanding that bread is mostly just a series of timed intervals. You aren’t “cooking” so much as you are managing a biological timeline.
The most intimidating part for most people is the science, specifically the yeast fermentation process. It feels like magic, but it’s really just controlled breathing. You feed the yeast, it eats the sugar, and it produces gas. That’s it. Don’t get bogged down in the chemistry textbooks. Instead, focus on the sensory cues: how the dough feels under your hands and how much it has expanded in the bowl. If you can learn to recognize when the dough looks “alive” and aerated, you’ve already won half the battle. Everything else is just fine-tuning the details.
Five Ways to Stop Overcomplicating Your Bake
- Stop obsessing over the scale. While a digital scale is better than cups, if you’re just starting, don’t let a hunt for precision stop you from actually making the dough. Get it in the bowl and move on.
- Respect the hydration, but don’t fight it. If the dough feels like a sticky, unmanageable mess, add a dusting of flour. You aren’t writing a thesis on hydration percentages; you’re trying to make dinner.
- Let the dough rise where it’s comfortable. You don’t need a specialized proofing basket or a temperature-controlled chamber. A large bowl covered with a damp kitchen towel in a draft-free corner works perfectly fine.
- Buy better flour than you think you need. Cheap, all-purpose flour can be finicky. If you want a reliable result without the guesswork, grab a bag of high-quality bread flour. It has the protein structure to do the heavy lifting for you.
- Embrace the “ugly” loaf. Your first few loaves might look lopsided or have a thick, stubborn crust. Eat them anyway. A slightly misshapen loaf that tastes like real bread is infinitely better than a perfect one that never made it out of the oven because you were too intimidated to start.
The Bottom Line
Don’t get seduced by specialized equipment; a heavy pot and a basic scale are more important than a professional-grade oven.
Prioritize consistency over complexity—mastering one reliable, simple recipe is better than chasing every trendy sourdough technique.
Accept that bread is a living process, not a math equation; allow for the mess and the timing shifts that real life inevitably throws at you.
## The Philosophy of the Loaf
“Stop treating bread making like a high-stakes chemistry experiment and start treating it like a system. You don’t need a perfectly temperature-controlled kitchen or a degree in fermentation; you just need a reliable process and the willingness to let the dough do most of the heavy lifting while you go about your day.”
Diane Sterling-Voss
Stop Overthinking the Dough
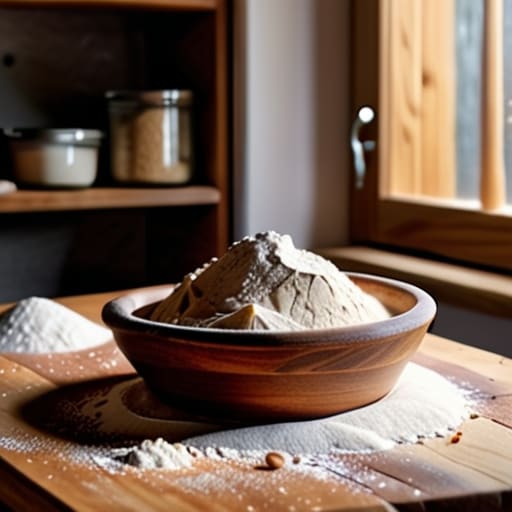
At the end of the day, baking bread doesn’t require a culinary degree or a kitchen full of specialized gadgets you’ll only use once. We’ve covered the essentials: get the right basic tools, skip the over-complicated sourdough rituals, and focus on a method that fits into your actual schedule. You don’t need a perfectly temperature-controlled room or a professional-grade oven to get a decent result; you just need a little flour, water, salt, and the willingness to embrace a bit of a mess. If your first loaf comes out looking more like a brick than a baguette, don’t sweat it. Just adjust your hydration next time and keep moving forward.
My philosophy has always been about reducing friction, and while baking might seem like “extra work,” it’s actually one of the most grounding systems you can implement in a chaotic week. There is something incredibly stabilizing about the tactile, predictable nature of dough. It’s a way to reclaim a few minutes of your life from the digital noise and focus on something tangible. So, stop reading the forums, put down the phone, and just start baking. The goal isn’t perfection; the goal is a warm loaf of bread and a little more peace of mind on a Tuesday afternoon.
Frequently Asked Questions
I don't have a Dutch oven; is there a way to get a decent crust using just a standard baking sheet?
You don’t need a heavy Dutch oven to get a decent crust. The goal is steam, plain and simple. Preheat your baking sheet as usual, but toss a shallow pan filled with boiling water on the rack below it. This creates the humidity necessary for that crisp exterior. If you want to go a step further, lightly spray the dough with water right before it hits the oven. It’s not professional-grade, but it works.
How do I know if my dough has actually risen enough if I don't want to spend an hour poking it?
Look, I don’t have time to stand over a bowl for sixty minutes, and neither do you. Forget the “finger poke test” if it’s making you anxious. Instead, use your eyes and a marker. Use a rubber band around the jar to mark the starting level, then just watch the volume. When it looks roughly double, it’s ready. It’s visual, it’s instant, and it requires zero guesswork. Move on to the next task.
Can I make this work if I'm starting with store-bought yeast instead of a sourdough starter?
Absolutely. In fact, I’d argue you should start there. Sourdough is a beautiful hobby, but it’s a high-maintenance commitment that requires a specific kind of patience most of us don’t have on a busy workday. Store-bought yeast is predictable, efficient, and gets the job done without the drama of keeping a fermented culture alive. It’s the reliable, low-friction way to get a decent loaf on the table without the extra mental load.