I spent twenty minutes last weekend trying to capture a decent shot of a vintage Moog oscillator I was restoring, only to end up with a blurry, washed-out mess that looked like it was taken through a layer of Vaseline. It’s infuriating because we’re told that having a thousand-dollar lens in our pockets is the answer, but that’s a lie. Most of the “pro” advice out there is just noise designed to sell you more gear or complex editing apps you’ll never actually use. If you’re tired of scrolling through endless tutorials just to figure out how to take better phone photos, you aren’t alone; the truth is that most of those “hacks” are just extra work disguised as creativity.
I’m not here to teach you about aperture settings or how to master professional lighting rigs. My goal is to give you a few battle-tested, low-friction adjustments that actually yield results when you’re in the middle of a busy afternoon. We’re going to focus on the minimalist essentials—the small, physical shifts in how you hold your device and use the light already available to you. No fluff, no expensive subscriptions, just a straightforward system to help you capture what you actually see.
Table of Contents
- Mastering Mobile Photography Composition Rules on the Fly
- Smartphone Lighting Techniques for Messy Real World Environments
- Stop Overthinking the Tech: 5 Practical Habits for Better Shots
- The Bottom Line for Better Photos
- The Efficiency of a Good Shot
- Stop Overthinking and Just Start Shooting
- Frequently Asked Questions
Mastering Mobile Photography Composition Rules on the Fly
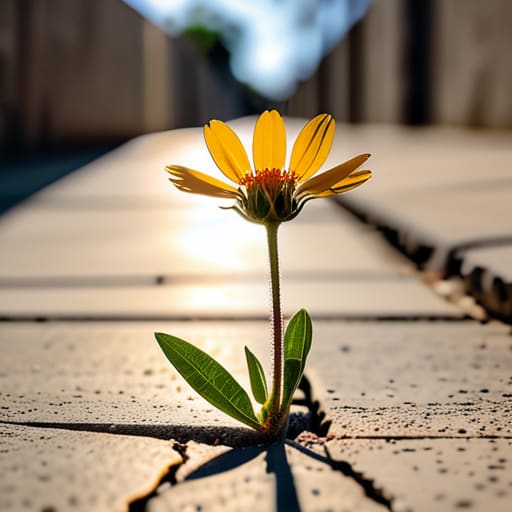
Look, you don’t need a degree in fine arts to make a photo look intentional. Most of the time, we just point and shoot, which results in a cluttered mess that captures the chaos rather than the subject. If you want to actually improve your results, start with the basics of mobile photography composition rules, specifically the rule of thirds. Turn on the grid lines in your settings—it takes ten seconds—and try to place your subject along those intersections rather than dead center. It creates a sense of balance that feels much more professional and less like a snapshot taken in a hurry.
I also tend to overcomplicate things when I should be looking at the environment. Before you even worry about smartphone camera settings explained in some long-winded manual, just look at your lines. Are there leading lines—like a sidewalk or a table edge—that draw the eye toward your subject? If the background is a disaster of laundry piles or trash cans, move your feet. Sometimes, a slight shift in perspective is the only “hack” you actually need to clean up a frame.
Smartphone Lighting Techniques for Messy Real World Environments

Look, we aren’t shooting in a controlled studio with softboxes and reflectors. Most of the time, you’re trying to capture a decent shot in a dimly lit restaurant or under the harsh, unflattering glare of a grocery store fluorescent. When the lighting is working against you, stop trying to fight it with digital zoom. Instead, prioritize finding a natural light source. If you’re indoors, move your subject closer to a window. It sounds basic, but it’s the single most effective way of improving smartphone image quality without touching a single setting.
If you find yourself stuck in a dark room, don’t just turn on your flash; that usually results in that washed-out, “deer in the headlights” look that ruins a good moment. Instead, look for secondary light sources like a desk lamp or even the glow from a nearby screen to add depth. If you’re experimenting with portrait mode photography tips, remember that this mode relies heavily on light to distinguish your subject from the background. If it’s too dark, the software will struggle, and you’ll end up with a blurry mess. Keep the light on your subject’s face, not their back, and you’ll save yourself a massive headache in post-production.
Stop Overthinking the Tech: 5 Practical Habits for Better Shots
- Clean your lens. I know it sounds patronizing, but most of my “blurry” or “dreamy” photos are just fingerprints from my pocket. A quick wipe with a clean cotton shirt or a microfiber cloth fixes 90% of clarity issues instantly.
- Lock your focus and exposure. Don’t just point and pray. Tap the subject on your screen to tell the phone exactly what matters, then slide your finger up or down to adjust the brightness. It stops the camera from making bad executive decisions for you.
- Use the volume button to shoot. If you’re trying to capture a moment without shaking the phone or fumbling for a tiny icon on the screen, use the physical volume rocker. It feels more like a real camera and keeps your hands steady.
- Stop zooming with your fingers. Digital zoom is just a fancy way of cropping a low-resolution image and making it look grainy. If you want a closer shot, move your feet. If you can’t move, you’re better off taking the wide shot and cropping it properly later.
- Check your edges before you click. Before you hit the shutter, do a quick scan of the perimeter of your frame. Is there a stray trash can or a random limb cutting into the shot? It takes two seconds to re-center, and it saves you the headache of trying to fix a bad composition in an editor later.
The Bottom Line for Better Photos
Stop obsessing over technical settings; focus on clean lenses and finding the best light source to do the heavy lifting for you.
Use simple composition rules like the rule of thirds to give your shots structure without needing a degree in photography.
Prioritize what’s actually happening in the moment over perfection, because a real, well-composed shot beats a sterile, over-edited one every time.
The Efficiency of a Good Shot
Stop chasing professional-grade settings you don’t have the time to manage; a clean lens and a decent light source will do more for your photos than any expensive app ever could.
Diane Sterling-Voss
Stop Overthinking and Just Start Shooting
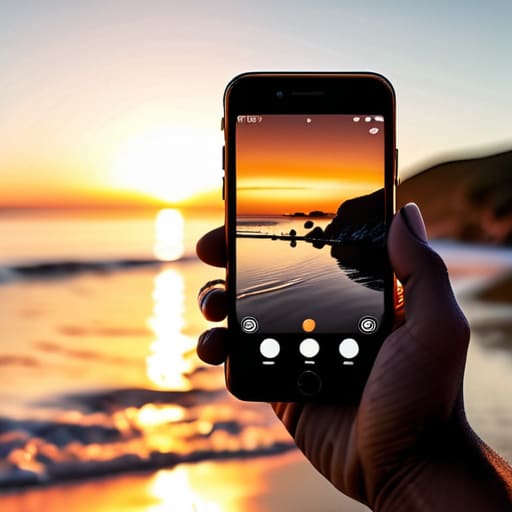
At the end of the day, better photos aren’t about owning the latest $1,200 smartphone or mastering a complex manual mode you’ll never actually use. It comes down to the basics: keeping your lens clean, understanding where the light is coming from, and using simple composition rules to give your subject some breathing room. If you can manage those three things, you’ve already bypassed 90% of the mistakes most people make. My advice is to stop searching for the perfect setting and focus on the immediate environment around you. Once you stop fighting your hardware and start working with what you have, you’ll find that efficiency and quality actually go hand in hand.
Don’t let the pursuit of a “perfect” shot become another chore on your to-do list. The goal isn’t to become a professional photographer; it’s to capture a moment without it feeling like a second job. Whether you’re documenting a quick meal or a fleeting sunset, the best system is the one that allows you to be present in the moment rather than buried in your settings menu. Put the phone down when the shot is done and get back to living. After all, the point of capturing life is to make sure you aren’t too busy filming it to actually experience it.
Frequently Asked Questions
Should I actually bother downloading editing apps, or is that just more digital clutter I don't need?
Look, I’m all for minimizing digital clutter, but there’s a difference between hoarding apps and using a tool. You don’t need a suite of twenty different filters. Pick one high-quality editor—something like Lightroom or even just the native tools in your OS—and learn the basics of exposure and cropping. If an app doesn’t save you more time than it takes to learn it, delete it. Keep your toolkit lean and functional.
How do I deal with those annoying lens flares and reflections when I'm shooting in a bright room?
Lens flare is usually just physics being a nuisance. If you’re stuck in a bright room, stop fighting the light and start managing it. First, check your lens for smudges—fingerprint oil is the primary culprit for those hazy streaks. If that doesn’t work, change your angle. Even a slight tilt can move the light source out of the direct path of the glass. If you’re desperate, use your other hand to shade the lens.
Is it worth investing in a cheap tripod, or is that one of those "solutions" that just creates more friction?
Honestly? Most cheap tripods are just expensive clutter. They’re flimsy, they catch the wind, and they take three minutes to set up when you really just need to snap a shot. That’s friction, not a solution. If you aren’t doing long exposures or steady video, skip it. Instead, lean against a wall or prop your phone against a coffee mug. It’s faster, it’s free, and it actually works when life is moving.